Laundry Room Makeover
Pop the prosecco! Our first room makeover is done! It's a small, high-traffic area plus the machines were in bad shape so we wanted to tackle it first. And I love green but the lime wasn't doing it for me.
Being the inexperienced homeowner we are, we figured this would be quick and easy. Like "we can rock this out in a weekend!" quick. Eight weeks later...
FRESH COAT
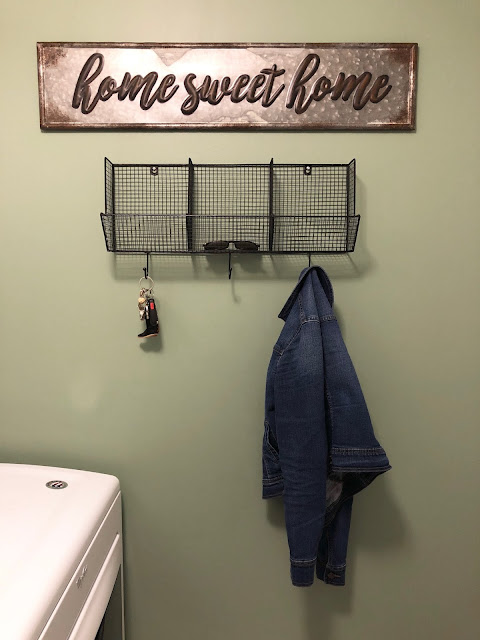
First, we had our professional painter friend do a majority of the ceilings in our new house before we started on the walls. Boy, does it make a difference! Definitely worth it. Then we softened the alarming shade of lime green using BEHR Bitter Sage. We're planning on doing a lot of white and gray throughout the house so I wanted to keep a pop of color in here.
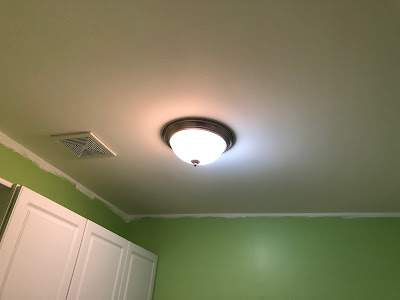 |
| BEHR Premium Plus - Interior Ceiling Flat |
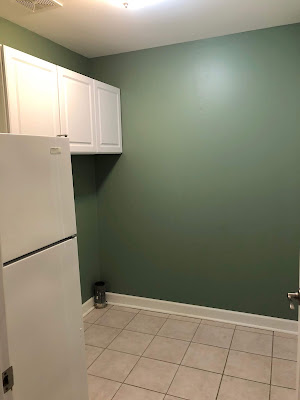 |
| BEHR Marquee - Bitter Sage |
WASHER & DRYER UPGRADE
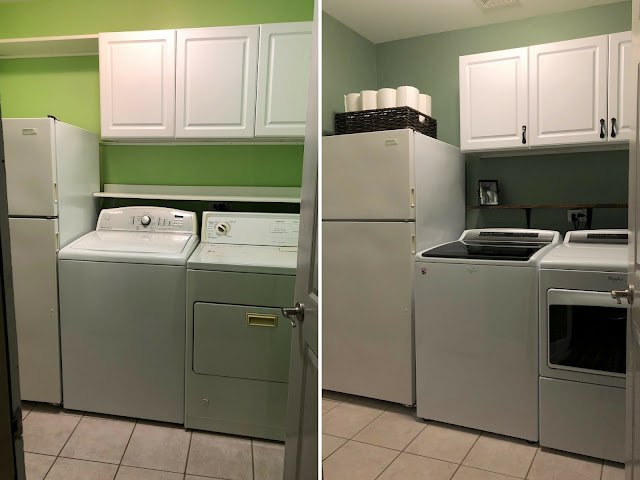
The original washer and dryer had definitely seen better days. The washer was basically a hunk of junk. I tried a load of white rags and towels (hot water + a splash of bleach) TWICE and they were still dirty. The dryer was significantly older. It was beat up, rusting, and made this sad whimpering, thumping sound. It was time to say buh-bye to both.
We got a fantastic deal on our Whirlpool set from Abt Electronics. Initially, I was very hesitant about making this purchase because my mom had an awful experience with Best Buy (the washer wasn't installed properly, they brought the wrong replacement, countless hours on the phone with customer service, etc.). Thankfully, Abt didn't disappoint. The delivery and installation went perfectly plus they took away the old junkers. *Major sigh of relief.*
I was skeptical about the whole no agitator/"high efficiency" washer but so far it's great. Love the deep fill and quick load options, and the drums are huge! Plus, we got $125 in rebates ($75 Visa gift card from Whirlpool + $50 check from ComEd). When you're hunting for appliances, hunt for rebates too!
RUSTIC SHELF
Channeling my inner Joanna Gaines, we replaced the laminated shelf with wood. We wanted a subtle distressed/aged look so it didn't need to be perfect. All we did was get a cheap, slightly beat up 1x10 from Home Depot and lightly sanded it. We found leftover stain and polyurethane in the basement so we did one coat of each and voila!
This was my first staining experience. I tested the stain on an extra piece of the board first to see how it would look after 5, 10, and 15 minutes. We went with 15 minutes for a darker, richer color.
FINISHING TOUCHES
We needed to add knobs to the cabinets and found old plastic ones that the previous owners never installed, but these cute Anthropologie handles were 60% off so I snagged them. But I failed to realize how long the screws were...
Whoopsies. Thankfully, my husband is becoming quite the handyman and saved the day by trimming and filing them down.
The light was pretty dated and I wanted something simple with a subtle vintage feel. We found this one at Menards but it's smaller in diameter so we had to touch up the ceiling around it (twice).
AFTER
We're really happy with how it turned out (and to finally be done). I'd like to eventually do something with the floor but it's good for now. On to the next project!







Comments
Post a Comment